Showing posts with label Mike Fontana. Show all posts

Monday, May 12, 2014

Carving a Sugar Coated Colossus for Kara Walker


I've been sculpting big things for a long time just as I've worked on some very high profile pieces that have been seen by millions of people. When I was the Chief Sculptor for the Macy's Thanksgiving Day Parade I built what I felt were fairly colossal art works. I've done a number of sculptures that are more than 30' long or, tall. I've worked on dozens of helium inflatables that are as big as this buxom onion with its many layers of meanings and materials but, balloons are entirely a whole other ball of wax. The hard sculptures from which they are patterned represent only 1/24th of the finished products total scale.  This "Subtlety" or "Marvelous Sugar Baby" for Kara Walker stands out in my career as the biggest, most highly publicized project that I have worked on to date. The work began life as a series of drawings and studies by Kara. She would eventually draft and cut out one of her signature silhouettes that would be most conducive to a three dimensional interpretation. At that point Nico Lopez was brought in to create a foam cored clay model that was directed and approved by Kara as this is all about her vision. For myself, my team and all other artists, talent , coordinators, vendors and services involved, this model became our bible. The task that was upon us all was to come as close as humanly possible to creating a radically enlarged replica of the model within a highly restricted allotment of time.
 Kara's sugar coated colossus is 35' tall and 75' long. Her heart shaped posterior rises 27' into the air and she's covered with enough sugar to sweeten millions of cups of coffee. Closer to the point it may beg the question: How many African slaves would have been required to manufacture this product that we would be so promiscuously slathering? She contains more than 330, 4' x 3' x 8' blocks of architectural grade polystyrafoam. It is correct to think of styrafoam as an extremely light material. For this aplication the foam only weighed 1 pound per cubic foot. This project represents 15 tons of it. My crew and I assembled and carved this monument to so many certain injustices particular to the lowest points of humanity in 20 days. We would spend a further 5 days spraying it with thick, sugar stucco through industrial hopper guns, thus lending our hands to Eric Hagen's sugar crew's tremendous task of having to apply 80,000 lbs of the sticky stuff. Their cement mixers never stopped spinning.


I know that 20 days seems impossible but it's a fact. The orchestration that went into this project was as monumental as the piece itself. Art Domantay's crew took a derelict, industrial hulk of a Domino Sugar factory building, 2 football fields long, oozing ponds of viscous black strap molasses and converted it into as civilized a studio as any sculptor could hope as well as what would become a truly magnificent exhibition space. Scores of windows were replaced, skylights fixed, leaks eliminated, electricity, running water etc, etc, etc.... Every tool and, every piece of heavy equipment that was required was provided. If it made sense and sped up the process, it was there. 
Another reason for the speed with which this was made was due to the herculean efforts, considerations and planning that went into figuring all of this out before a single block was laid. Hats off to Jon Lash and the Digital Atelier. The logic of their enlargement process and block mapping was absolutely key in how swiftly we brought this to Kara's expectation.
 If bigger paintings require bigger brushes, so too is the case for bigger sculptures. By my request, every member of my crew was outfitted with their own transformer and a 60'' bow wire. For those who don't know, that's a 5' long hot knife that can lop off hunks of foam as large as major kitchen appliances, in other words, a big freaking tool. Once all of the lop and whittling was done the piece was further refined with massive short bristle wire brushes and sawtooth rasps. The sawtooth rasp is an invention by Tim Daly who was one of the most
important players and coordinator's in this project. His tools would by their efficiency, cut days from the calendar. I would also like to mention that Tim was responsible for assembling and recruiting almost every artist involved with this project. Quite simply, without Tim's recommendation and introductions, I would not have been a part of this monumental work. Truly, a million thanks Tim, I've waited the better part of 30 years to be involved in a project like this.
Though all of the support was superb and every tool and material was correct, in my opinion, what contributed most to the speed and success of this sculpture itself was the heart and soul of every member of my team. Not an idle moment known by any of them, not an ounce of energy or intelligence in this was unexpended or withheld. All charged onto this battle field holding high their rasps and swinging their wire bows tirelessly till the campaign was carried out to a success that is being celebrated around the world. Gigantic thanks to the sculptors who were in this seemingly impossible quest with me: Brian Comisky, Lena Takamori, Matt Mikas and Ryan J. Clark and of course the most enormous thanks to Kara Walker, without whose genius, relevant importance, initiative and inspiration, none of this would have been and to Creative Time for granting Kara this commission and giving me the opportunity of leading a great sculpting team in the creation of the largest work that I've ever put my hand to.

The show opened to the public May 10th and will run till July 6, Fridays 4-8pm, Saturday & Sundays 12-6pm at the Domino Sugar Factory, South 1st Street  and Kent  Avenue, Williamsburg Brooklyn

To see this project from start to finish, please click HERE

To see some of the best press photos, please click HERE

To see Creative Time's production team credits please click HERE

To see news articles on this piece please click HERE

To see Art21 documentary on this piece please click HERE

To see Wall Street Journal video on this piece please click HERE


Friday, March 14, 2014

Sand Castle Video Cabinet and Play Tables

A Great artist once said "Castles made of sand fall in the sea, eventually". I say, not if they're carved from EPS and coated with an isocyanate polyurethane resin...and installed a fair enough distance from the ocean. Immediately upon the completion of the Dolphin Sofa for SFDS, I went to work on these sand castles. While the basic geometry of these pieces seemed simple enough, their textures demanded a lot of time and attention.
Once the basic shapes were assembled, and the television monitor was properly fitted, all 3 pieces required staggered block patterns. This represents a lot more work than many would guess. The patterns were first measured and drafted over the majority of the surfaces. In the case of the tables, all sides required detail, where as the video cabinet has a smooth back. The drafted patterns were then hot scored into the surfaces and all of the pieces were tied together and further textured with joint compound before hard coating and paint treatments were applied.
The play tables center spaces were filled with sand and sea shells and topped with glass and plexi. The video cabinet was not only fitted with a 52"monitor but an Xbox and other ancillary digital goodies. The sunglass on the far end of this shot sport double monitors (the shades were cut on the CNC machine, I merely glued the parts together and rounded the edges). All of the wonderful stools and beach ball chairs were designed and fabricated by SFDS. In the end an incredible childrens play space was created, one that will host and inspire much joy and laughter for many years to come.
I'd like to further thank Eric Winston and SFDS for providing me with and allowing my use of their images of the pieces installed in their intended environments. Every aspect of working with this fine studio was a pleasure and a privilege. I happily look forward to my next projects with them.

Dolphin Sofa

This first image is the Zbrush model rendered with Keyshot. The following 4 images show the 10"long Shapeways SLS 3d print. As you can see, it's a remarkably true to the model. It does however, have a bit of a tooth to it. Shapeways offers this material polished in a tumbler but, that process is reserved for print outs that are 200mm (about 7.5") or, less. 
 Sofas and couches come in all shapes and size but, this was a new one for me. I was contacted by Eric Winston, owner of SFDS, a fantastic, 15,000 square foot scene fabrication/design studio in the heart of Greenpoint Brooklyn. Eric needed among some other wonderful elements, a 10’ long, hand carved dolphin sofa for the Marriott Vacation Club in Newport Coast CA. I jumped at the chance. I’d been wanting to do a crazy sofa for as long as I could remember. I’ve done all sorts of crazy chairs, tables, cabinets and beds for as long as I’ve been sculpting but, in all of the that time, never a sofa. Eric cleared a huge room for me to sculpt it in. His excellent fabrication staff built a hotwire table for me from no more than one of my napkin sketches and boom, it began.

Half way into the carve, Eric's studio was visited by Mario Marsicano from Jellio. I've worked with Jellio on a number of interesting projects. I knew that Eric did projects with Jellio but, I didn't know that the sofa was one of them. There were so many diverse projects going on in the studio at the time, 2 major stage sets, a big job for instagram, giant wooden dinosaur assemblies, all sorts of different furniture designs, as far as I knew I was sculpting Eric and the Marriott. Finding out that this was for Jellio once my hands were already deeply into it was an additional bonus. For more with Jellio, click on the following links.
Gummi King
Ice Cream That You Can Sit On
King Kong
Eric's 5 year old angel, Ella.
 The above images show the sofa from various angles, carved, filled and ready for hard coating. The project progressed at a very fast rate due in largest part to my having figured out the sculpture in Zbrush. I have always done models in the past for larger sculpts. The luxury of doing models in Zbrush, as opposed to a more traditional clay approach is that you end up with a model that is not only more easily editable but, all of my build elevations were derived from it as well. The elevations were simply projected onto the block from different sides and the sculpture was immediately roughed out, top to bottom, side to side, front to back.
An astute eye may notice that the sofa against the grid only measures 9'. In order to increase the seating area, during the projection, the length of the sofa would be stretched to 10'. As a result, everything changed a bit but, all for the better. In a very long career, this was well worth the wait. In the wonderful world of fanciful furniture, this is an example as fabulously fun as you could hope to fathomably find.

Thursday, November 7, 2013

Bride of Frankenstein

I had originally set out to do a model of Nefertiti. As soon as I started my image search,  I came upon images of the Monster's Bride. Perhaps its because so much of Egyptian art work is funerary and exalts life after death. I found myself set on a new path. While both women represent a most certain standard of beauty, Nefertiti is near crystalline in her elegance and purpose whereas the Monster's bride apes some of Nef's cool, especially in her quaf, which contains the same basic mass as the Queens ancient crown but, she's all together something else. She's actually quite the high piece of lurid Deco, pouting and succulent, lean and long, eyes wide open vexed yet amazed, designed and built to sate the hunger of an abomination.

Tuesday, October 22, 2013

Pigs on the Wing

And any fool knows a dog needs a home,
A shelter from pigs on the wing.
An ode to Scott McNeil, the builder of the Pink Floyd Pig balloon. A gentle sweet fellow whom I had the pleasure of working with at Macy's Parade studio for a number of years before AIDS and time took him too soon.

Saturday, October 12, 2013

Rags A GoGo 3d

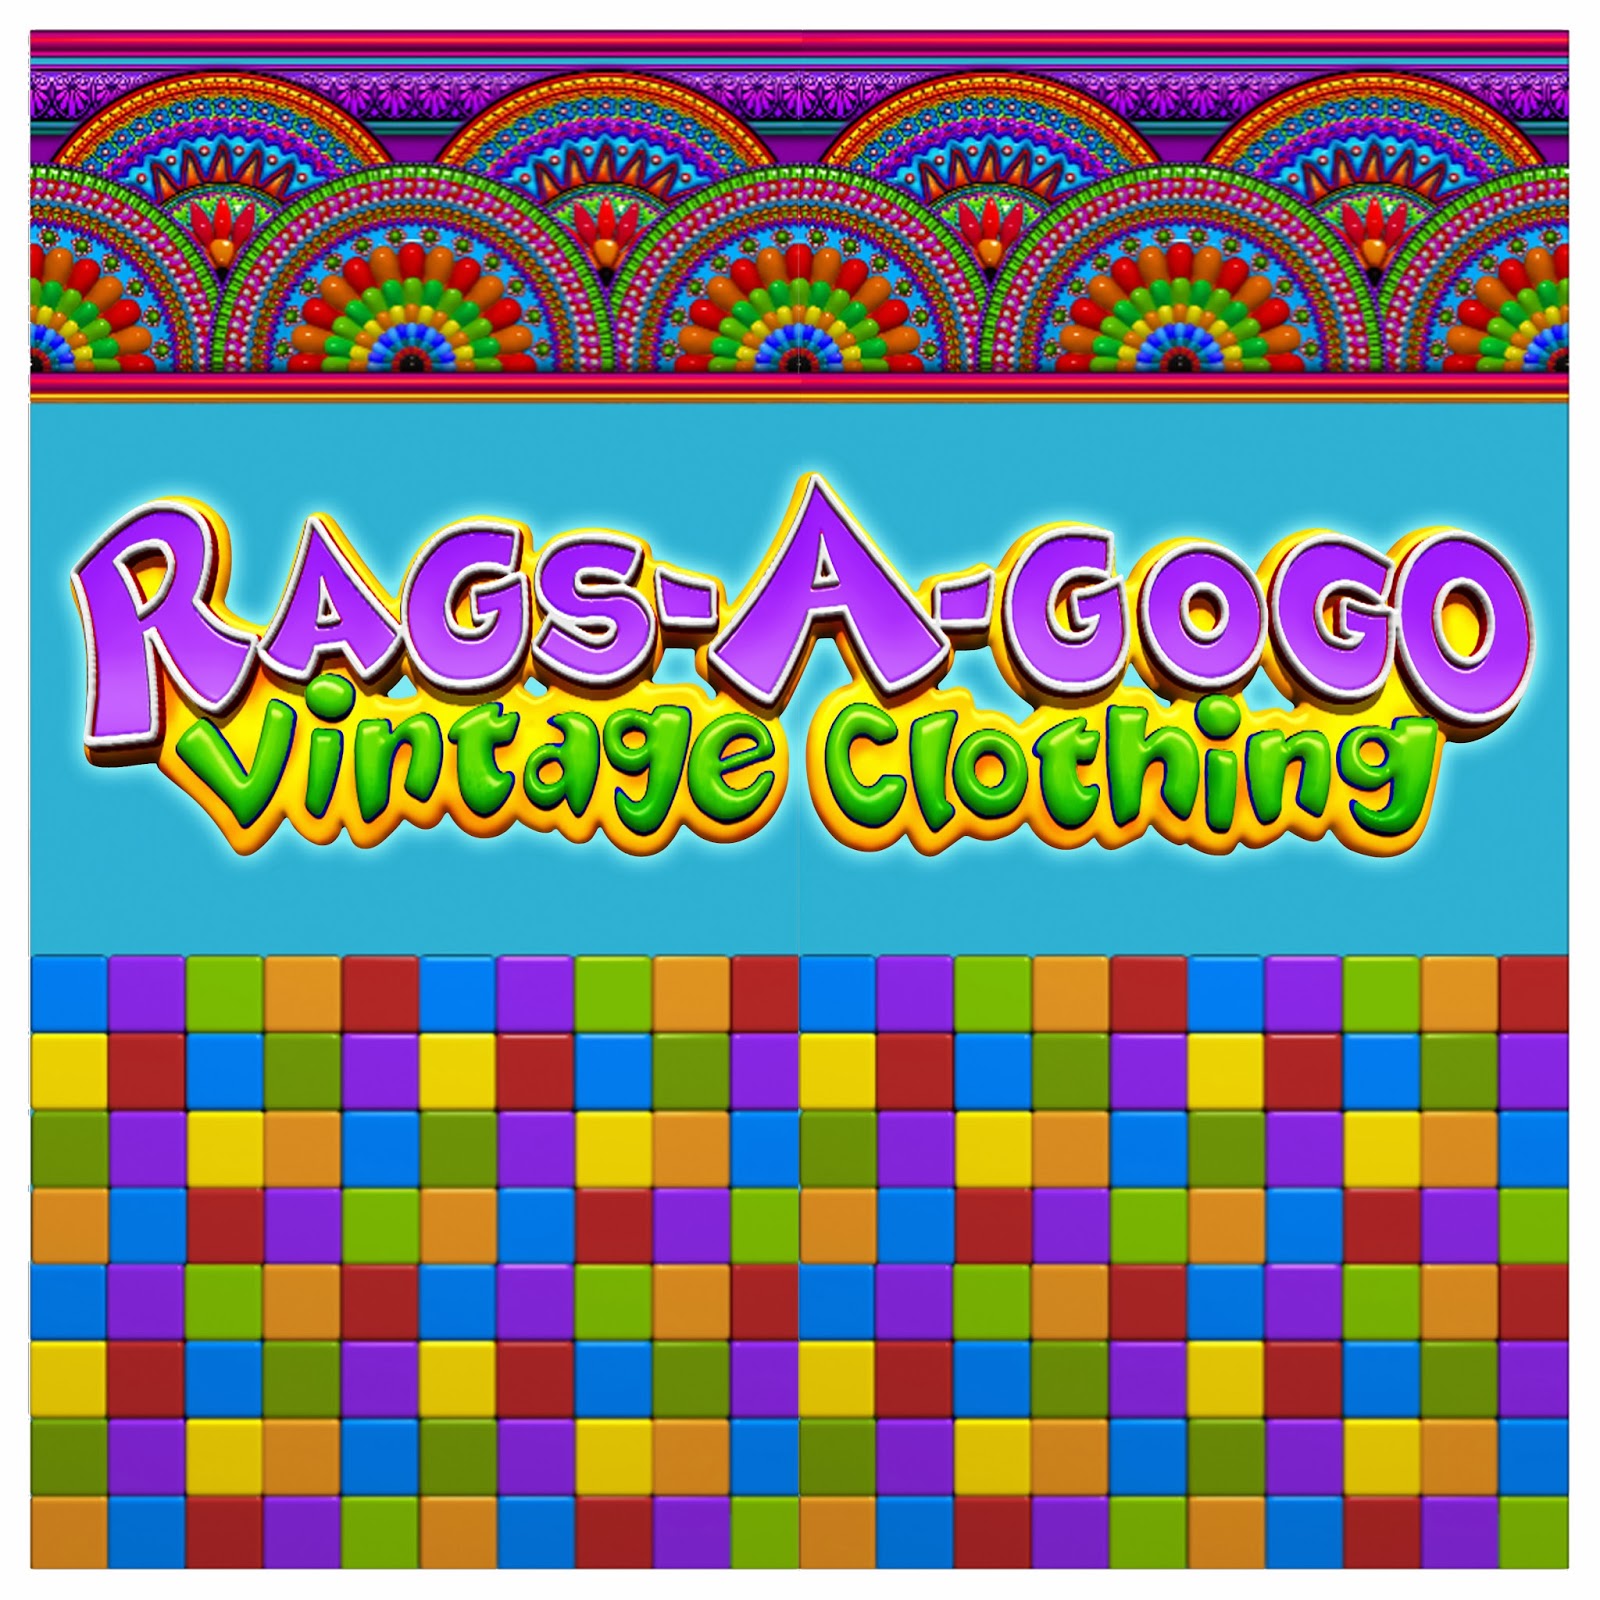
The image above is a Photoshop mock up that's incorporating the 3d logo, rondels and tiles. The mural with the stars and earth already exist as five painted panels that install in about two minutes. They are removed in about half that amount of time and are then stored in between the entrance and the rolling gate. This design feature and daily ritual exist in order to protect the mural from graffiti during the hours in which the store is closed. The tiled border at the bottom of the mural will simply be painted in the same manner as the rest of the mural. The banner across the front of the awning will be printed on vinyl and attached with double stick foam backed tape that is expressly designed for that purpose. The awning which is currently yellow will be painted with vinyl paints. The panels will alternate between red and blue.
Inside, the front of the store will feature 22" vinyl borders running just below the ceiling. The rear, lower portion of the stores plan, AKA "Chick Pit" will feature a 46"enlargement of the same border design. Visible walls will be painted a lovely sky blue. The floor tiles will be primed and painted with commercial floor enamels in a random pattern of primary and secondary colors.

All of the components for the border design were modeled in Zbrush with Alpha extrusions, radial symmetry tools and polypaint. The models were then rendered and brought into Photoshop for assembly, adjustment and print preparation.

Monday, September 30, 2013

Octopus Monster Game Asset


This is the third asset for the game project. My client asked me for an Octopus monster to chase the Skycycle through the strange and twisted landscape. It had to be an Octopus but, it had to be fierce in a more than simply Octopus sort of way. There's quite an assortment of bits in this beast. A bit of dragon and dinosaur, a bit of croc and bug, claws like grappling hooks and a nightmarish mouth that you wouldn't want to kiss. I wanted the creature to be an iridescent green akin to a scarab but not as dark. I also had to maintain it's fleshiness so that it can breath and jet around once fully animated. It's easy to dream on creature amalgamation. A creature of this kind could see so many different variations.


In the video below we get to see the creature fly around the environment, which follows it's every move. The environment is actually a 2d still of the set tile wrapped around the inside of a sphere. Within that process, there are all kinds of shape surprises,

Thursday, September 26, 2013

Stephen Colbert Portrait, Bust, Cube X 3d Print


This little ABS bust of Steven Colbert is 6" tall and took about 13 hours to print, at medium infill and resolution on the Cube X. Like the other Cube X prints, this wasn't my first attempt. I contacted Cubify support and asked for advice. They told me to try a smaller medium resolution print set to medium density without detail preservation. I gave it a shot and this is what I got. I applied painter's tape to the build plate and then applied Magic Glue to the tape. It seemed to work but, an hour or so into the print I notices that while the ABS was sticking to the tape it was also curling with enough force to pull the tape away from the build plate. As I've read more and more, it seems that the only way to get consistent, undistorted ABS prints ( that actually stick and don't move around)is to invest in a heated build plate. They cost about $500. Ugh. Aside from the distortion in the lower part of the pedestal (will be corrected with sculpt epox) its a fairly remarkable print. It didn't come out of the machine looking like this however. I've put 6.5 hours into finishing this and could easily put another 4 or 5 hours into it before it would be ready for molding. Most of the support material did simply snap off with the exception of the scaffold supporting the chin. That bit of support required some radical carving in order to get to the intended forms beneath it. There were also two areas of this print that were a step out of register, one, through the center of the pedestal and, two, across the shoulders and through the center of the necktie's knot. They required a fair share of finessed carving and sanding to hide. All of that Said, ABS is a lovely plastic to work with. It carves and sands out very nicely and the majority of its striations can be buffed out with acetone. In fact, when applied sensitively, acetone can buff this plastic out to a finish that very closely resembles polished marble.


SHOCKING NEWS FLASH!!!... STEPHEN COLBERT COMES OUT OF THE CLOSET AND OPENLY CONFRONTS HIS INFLUENCE ON THE MARIJUANA NATION. FOR MORE IN DEPTH DETAILS ON THIS GROUND BREAKING STORY AS IT UNFOLDS, PLEASE CLICK HERE!

Monday, September 23, 2013

Game Environment Set Tile


The difference between microcosms and macrocosms is contextual. The difference between miniatures and monuments follow the same suit. Visually its a matter of placing the viewer on a sliding scale that can either put them inside of the scene with its elements towering above them a la' Honey I Shrunk the kids or, outside and above wherein the scene is simply a strange and tiny tile littered with an eruption of fantastic fungi.


Each element within the tile is a separate set piece that can be individually edited, textured, distorted, scaled or, rearranged. In order to create a continuous loop for the Skycyles to fly through, the tile is copied and rotated to present a different entrance aspect of the scene than the first tile. The rotated duplicate tile is then placed after the first tile to effectively double the length of the set. Since the Set Tile has 4 elevation sides, this process can be repeated 4 times before an image or point of view is repeated.


As these scenes represent an early stage of development, not much has been done with texturing yet and in truth I'll be sorry to obscure some of the beautiful, stretched polygon patterns but, it'll be all the more mind blowing textured as striated desert stone.


Many more Set Tiles have been discussed, mecha tiles, ruins tiles, tunnel tiles and the like. In the end, a mosaic of interchangeable set and scene transitions will be created.


In the animation the shapes get pretty crazy as they go sweeping past on the turntable. I can't wait to see tiny Skycycles flying through it from different points of perspective.

Wednesday, September 18, 2013

Moon Bird Cube X 3d Print


Joan Miro's Moon Bird occupies a special place in my heart as its the first true piece of sculpture that I can recall. It is also the first piece of modern sculpture that I had attempted in Zbrush. The Cube X has the largest build area of any desk top deposition printer currently on the market so I figured lets see what a 9.5" tall Moon Bird looks like. So far, it hasn't meant to be. It required 6 attempts just to get the base to stick. After abandoning Cubify's Magic Glue, being unable to make it work no matter weather or not it was fully dry or slightly tacky, I ended up using blue masking tape. It seemed to be working but then one end of the base started to curl up. As irritated as I was by this, I decided to let it run its course to see what would happen. I let the machine continue to run and went out for the evening. When I returned, I found that the print had stopped half way through the head. The Machine's dialog box read "File Read Error File Line 407595". I have no idea what that means. In order to see if it was a problem with the model I printed a smaller version. 9 hrs. and 44 minutes later I had a 4.5" tall Moon bird. Initially I was pleased just to have something but, upon closer inspection, I found the model to be fairly crude and to make matters worse, the support material was completely fused to the model. The support material is supposed to simply snap off of the model but, this was not the case. It took more than an hour to get most of the support material off and there are still some pretty serious scars that are in need chasing. 


Another worrisome aspect to the print is the lumpiness of the base or floor. It almost seems quilted and as such would be impossible to efficiently iron out, so to speak. I suspect that this is a result of using the lowest infill setting. Future models will be attempted with with medium infill.


Tuesday, September 17, 2013

Oscar Cube X 3d Print


I've recently purchased a Cube X 3d printer. The machine itself is a thing of beauty and appears to be many times more substantially constructed than the MakerBot but, So far I'm not in love. The folks at Cubify tell me not to worry. I'm going to cross my fingers and see what happens because, while this 9" prototype is fun, its nowhere near good enough to sell and is nowhere near as refined as the fairly simple model that it was created from. If this model came out as cleanly as one of the high resolution  Cubify sample prints, I would be delighted but, as it stands now, I am not. The resolution of this supposedly high resolution model is more crude than a MakerBot medium resolution print. This model took 14 hrs. and 37 minutes. That seems like a fair amount of time for a high resolution print that is 9" tall but, its dreadfully slow for a model of this poor quality.